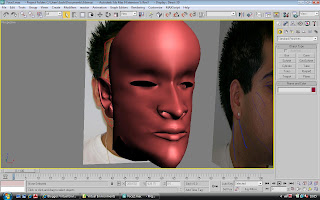
To make this part we needed to go back to the photo of the side view of my face. This time we concentrated on the ear in this photo. The outlines were picked out of this image for the ear alone and then this was converted in to a set of square, the same way the face was initially produced.
This image was then updated on 3DS Max and a polygon model of the ear was drawn using the front and side view of the photo for reference.
Parts of the ear were defined by using the bevel tool and also the insert tool on the modifier stack for the editable poly.
To attach the ear to the model, we needed to first remove some polygons from the side of the face. The ear would then fit in this place and the vertices and polygons would need to be matched up. The ear is then attached to the face and the vertices are welded.

No comments:
Post a Comment